
With the winter chill now subsiding, and the first signs of spring starting to emerge, your thoughts might be turning towards using your campervan again.
Check out our video of the process below and read on to find more tips on how to get ready for the road
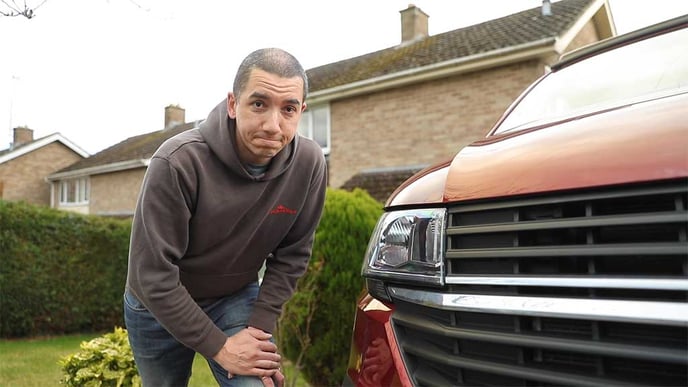
If it has been sat dormant for a period of time, there may be some simple general maintenance you need to consider in order to get the most out of using the vehicle again.
We've compiled a series of tips to help you bring your campervan out of hibernation and avoid any nasty surprises.
- Safety first
Is your vehicle due an MOT or service? Now would be the time to get it done, so as to give yourself enough time to sort out any little niggling problems before you head out in the van more regularly. In preparation for a booking, the tips below will help you understand how you can be prepared for your vehicle's health check. - Engine, tyres and brakes
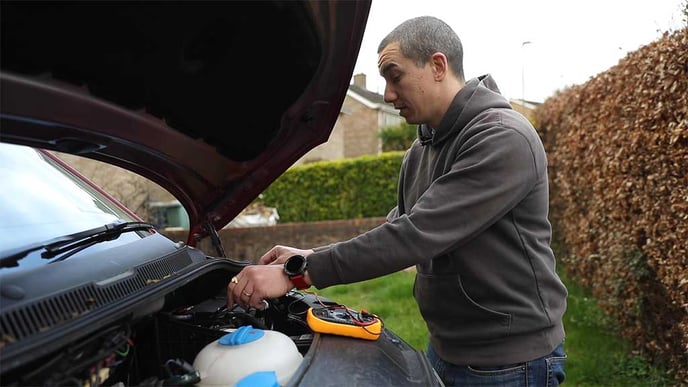
There will be generic vehicular maintenance required if you are bringing your vehicle out of an extended layoff period. You'll need to do all the usual checks, such as monitoring the water and oil levels in your engine bay. Make sure you check your washer fluid, as it's a legal requirement to have some form of liquid in your washer bottle at all times.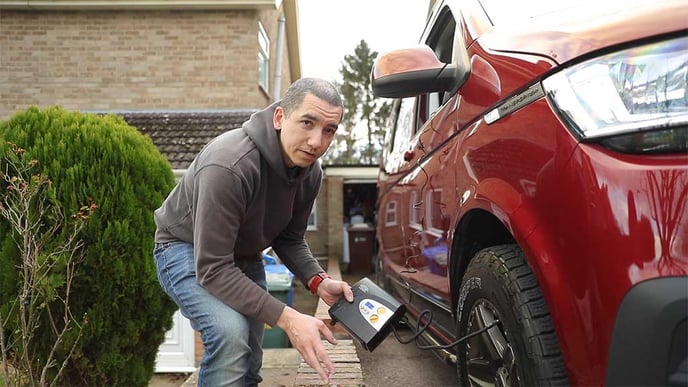
Check your tyre pressures too. The pressure needed will depend on the tyres you have on your vehicle but we generally recommend inflating them to 45psi.
Have a look at the tread depth on your van's tyres. You need a minimum of 1.6mm across the majority of the tyre's width – this is about the same depth as the rim around the edge of a 20p coin, so these are often used as simple and available method to help you check.
Flat spots can occur on tyres if they have been stored for a period of time in the same place without moving, so you may need to increase the air in them to counter this – just remember to return them to the recommended level before setting off anywhere.
If the handbrake has been left on and in the same position for a long period of time, check the brake shoes have not seized to the drum by lowering the handbrake fully and checking that the wheels turn freely without braking applied. - Lights
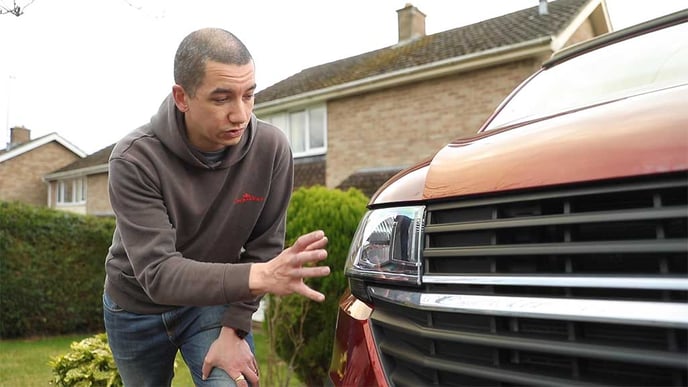
Rainwater has a habit of finding its way into light fittings from time to time, so it's a good idea to check your road lights and ensure they're all in good working order. Sometimes a fix may be as simple as removing and replacing a bulb. - Gas and water
The key parts of the conversion may need a little attention, prior to you hitting the road again. One of the first things to check is your gas connections. Turn on your gas valve on the 907 cylinder and ensure your gas taps beneath your kitchen area are in the on position (i.e the taps are in line with the pipes). Ignite the various gas appliances, such as your hob or grill, in the usual way.
Blue flame = good news. Yellow flame = get the appliance seen to by a qualified person.
Your water system is also vulnerable to frost damage, so if it has been a cold, hard winter, it's advisable to thoroughly check the pipework where possible to ensure it's not been affected. Bacteria can also grow in the unused pipes, so combine these checks with a disinfection using a proprietary water system cleaner such as Puri Sol, which can be bought from our online shop. - Electrics
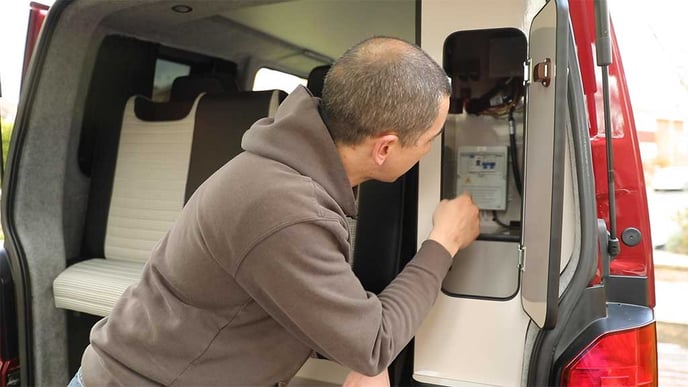
Check that all your appliances, such as your fridge and power sockets, are operating as expected. If necessary, go to your electrical control switches in the back of the conversion and use the RCD test switch to ensure it's functioning properly. It's a safety-critical feature.
The same goes for the 12V sockets in the van. Your battery function may have degraded if the van has been kept in storage for a length of time, so it's time to test the voltage and get the battery topped up or changed if it's not performing correctly. - Exterior and interior checks
It's obviously advisable to give the vehicle a wash, taking all the dirt and everyday grime away and allowing you to thoroughly inspect the paintwork for any defects. Give your solar panel a good clean if you have one.
If you've had your vehicle covered with a bespoke vehicle cover for a long period of time, inspect the cover for signs of any wear and ensure it is dry before you pack it away.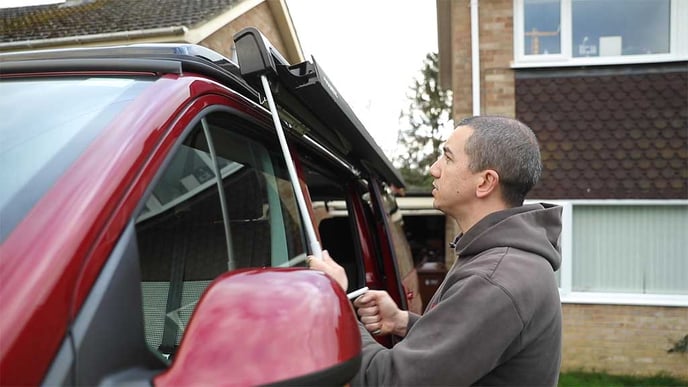
If you have a sunshade, run a brush along the C-rail to clean out any debris, and wind it out fully to make sure it's operating as expected.
Inside the van, open and close all your lockers and cupboards, checking for anything out of the ordinary – seized catches, leaks, even rodents. Address anything of concern immediately.
If you need to clean the fridge, do so with a mild detergent and clean the surfaces with a mild antiseptic, leaving the fridge open on its catch to air for a while afterwards.
Give all surfaces a brush or vacuum clean, and check all your windows and curtains can be opened and closed properly.
Once you've carried out the checks above, all that remains is to get your gear, pack your campervan and get ready to head off on your next adventure.
Hopefully, you'll have a stress-free time, knowing that you're getting the most out of using your CamperKing leisure vehicle.